Knowing how to test ethernet cable properly saves hours of troubleshooting. There are four reliable methods to test ethernet cable A cable that looks perfect can still be wired wrong, have a broken internal wire, or fail at high speeds. Testing takes 30 seconds with the right tool here’s every method from a $10 tester to doing it with no equipment at all.
This article is part of the complete Home Networking Guide — a single reference covering cables, hardware, IP addresses, and troubleshooting for home networks.
Method 1: How to Test Ethernet Cable With a Cable Tester
A basic RJ-45 cable tester has two units a main unit and a remote. Plug each end of the cable into one unit, then press the test button. LEDs numbered 1–8 light up in sequence, one for each wire pair.
- All 8 LEDs light up in order (1–8): Cable is good straight-through (patch) cable wired correctly
- LEDs light up in a different sequence: Crossover cable both ends wired differently by design
- An LED doesn’t light up: Open circuit that wire pair is broken
- Two LEDs light at the same time: Short circuit two wires are touching
A basic tester costs $8–15 and is the fastest way to diagnose any cable issue. If you’re running Ethernet through walls or making your own cables, it’s essential.
Method 2: How to Test Ethernet Cable for Speed Without a Tester
If you don’t have a cable tester, you can check whether a cable is limiting your connection speed:
- Connect your computer to the router with the cable you want to test.
- Run a speed test at speedtest.net and note the result.
- Replace the cable with one you know is good and run the test again.
- If the speed improves significantly, the original cable is the bottleneck.
This method catches cables that work but underperform a damaged Cat5e cable might still link at 100 Mbps instead of 1 Gbps, for example.
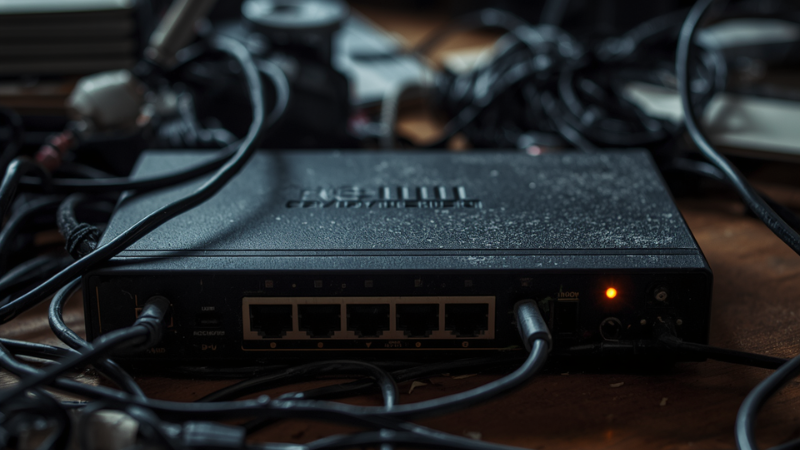
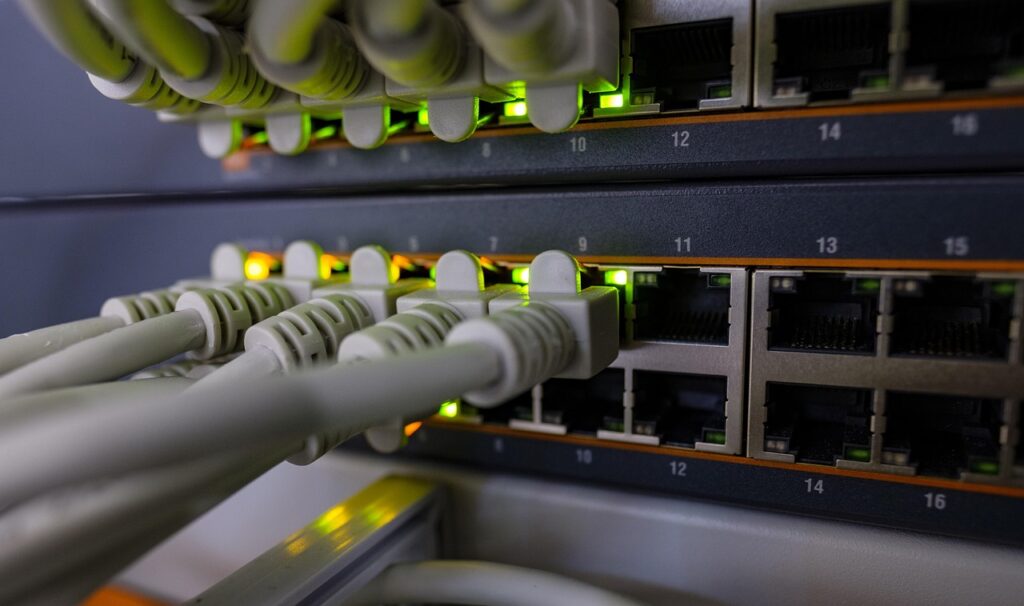
Method 3: How to Test Ethernet Cable With Port LED Indicators
The LED indicator on the Ethernet port tells you a lot without any tools:
- Solid green or amber: Physical link established cable is connected and recognized
- Blinking: Data is actively transferring
- No light: No physical connection bad cable, bad port, or device is off
If the LED lights up, the cable has physical continuity on at least two pairs. If it doesn’t light up at all, the cable has a break or the connector is damaged.
Method 4: How to Test Ethernet Cable With Network Diagnostics
On Windows: right-click the network icon → Troubleshoot problems. Windows will report if Ethernet is detected but has no link, which points to a cable or port issue rather than a software problem.
On Mac: go to System Settings → Network. If Ethernet shows “Cable unplugged” even with a cable connected, the cable or port has a physical fault.
How to Test Ethernet Cable Speed Precisely with iPerf3
For a precise measurement of maximum throughput between two devices on the same network, use iPerf3 a free command-line tool:
- Install iPerf3 on both computers.
- On the receiving computer, run:
iperf3 -s - On the sending computer, run:
iperf3 -c [IP address of receiving computer] - The result shows actual throughput a healthy Gigabit Ethernet cable should hit 900+ Mbps.
What to Do After You Test Ethernet Cable and It Fails
Now that you know how to test ethernet cable in multiple ways, here is what each failure result means and what to do about it.
If a cable fails the tester or speed test, the fix depends on the fault:
- Open circuit on one pair: Replace the cable internal wire damage can’t be repaired reliably
- Bad RJ-45 connector: Cut the end and re-crimp a new connector
- Crossover vs straight-through confusion: See Crossover Cable vs Patch Cable
- Cable works but slow: Check the cable category Cat5 is limited to 100 Mbps. See Cat5e vs Cat6
Reading Cable Tester Results in Detail
A basic 8-LED cable tester tells you more than just pass/fail if you know what to read:
- LEDs 1, 2, 3, 6 light in sequence: The four active pairs in a standard 10/100 Mbps connection are fine
- LED 4, 5, 7, 8 also light: All 8 wires are intact cable is good for Gigabit and above
- LED 3 and 6 are swapped: The green and orange pairs are transposed this is a crossover cable, not a fault
- LED blinks instead of stays solid: Intermittent contact the connector is crimped poorly or the wire is damaged inside
- Multiple LEDs light simultaneously: Short circuit two conductors are touching, usually from a crimping error
Advanced cable testers (wiremap testers, TDR testers) can also measure cable length, locate exactly where a break occurs, and measure crosstalk between pairs useful for diagnosing installed runs in walls.
Testing a Cable That Passes But Still Causes Problems
A cable can pass a basic continuity test and still cause real-world issues:
- Excessive crosstalk: Pairs that are twisted incorrectly or untwisted too far at the connector end create interference that increases error rates at higher speeds. A basic LED tester cannot detect this a wiremap tester can.
- Correct wiring but wrong category: A Cat5 cable wired perfectly passes any continuity test but is physically limited to 100 Mbps. If your connection runs at 100 Mbps instead of 1 Gbps, check the cable label it should show “Cat5e” or “Cat6.”
- Damaged shielding on STP cable: Shielded twisted pair (STP) cable that has a broken shield can actually perform worse than unshielded cable in some environments, as the broken shield introduces noise rather than blocking it.
When to Replace a Cable Instead of Re-Crimping
Knowing how to test ethernet cable correctly helps you decide when a repair is worth it and when replacement is the only real option.
Re-crimping a new RJ-45 connector is worthwhile for a cable with a damaged connector at the end. It is not worth it when:
- The cable shows an open circuit in the middle (internal wire break) the damaged section cannot be repaired reliably
- The cable jacket is cracked, pinched flat, or has a tight kink internal wire damage is likely
- The cable is older than 10 years and has never been tested replacement is more reliable than repair for infrastructure you depend on
Frequently Asked Questions
- What is the easiest way to test an ethernet cable?
- The easiest way to test an ethernet cable is with a basic RJ-45 cable tester. Plug each end in and press test it confirms all 8 wires in under 10 seconds. You can also test an ethernet cable by checking the port LED.
- How do I test an ethernet cable without a tester?
- To know how to test ethernet cable without a tester, check the port LED for a physical link, or run a speed test before and after swapping cables. These methods let you test ethernet cable performance without specialist equipment.
- How do I test ethernet cable speed?
- To know how to test ethernet cable speed, use iPerf3 between two computers or run speedtest.net. When you test ethernet cable speed with iPerf3, a healthy Gigabit cable should reach 900+ Mbps.
- My ethernet cable passes the tester but is still slow, why?
- A continuity tester only checks that wires are intact. To fully test ethernet cable for speed issues, using iPerf3, you need a performance test like iPerf3. A Cat5 cable passes any continuity test but is limited to 100 Mbps regardless.
Summary
There are four practical ways how to test ethernet cable: a dedicated cable tester, a speed comparison, port LED indicators, and network diagnostics. A $10 RJ-45 tester covers the vast majority of faults in under 10 seconds. For installed runs in walls, iPerf3 gives you actual throughput numbers. Once you know how to test ethernet cable at each stage — before installation, after crimping, and during troubleshooting — diagnosing network problems becomes much faster.