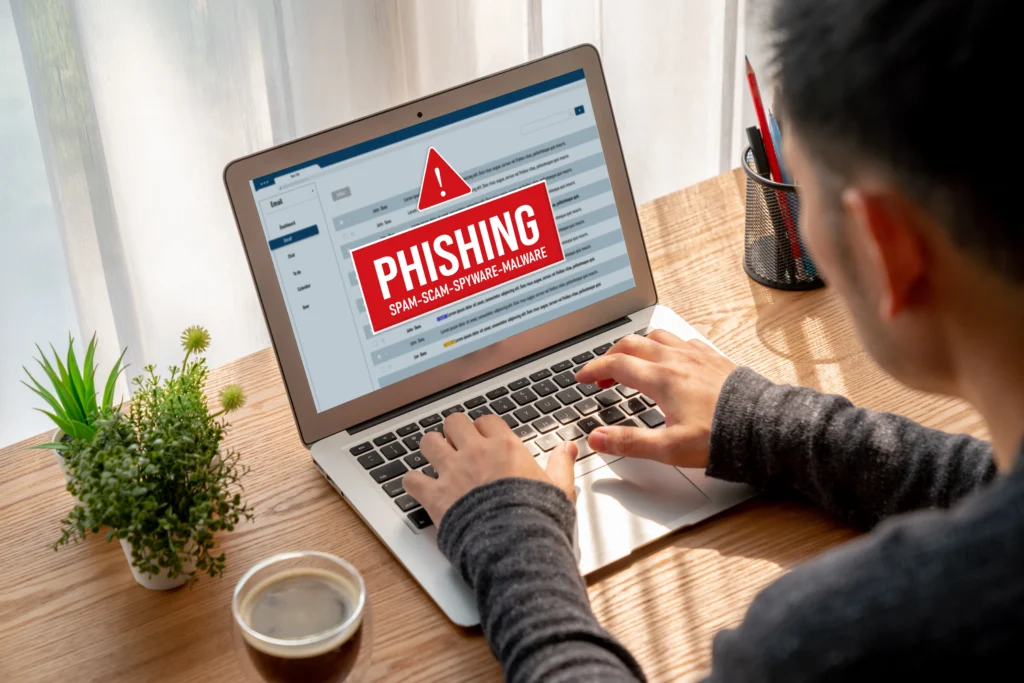
Knowing what to do after phishing attack can be the difference between a minor scare and a serious financial or identity theft incident. What to do after phishing attack depends on what you clicked, what you entered, and what may have been downloaded, but the first 30 minutes are the most critical window for damage control. Always starts with the same step: disconnect from the internet and change your compromised passwords from a different device.
Step 1: Disconnect From the Internet Immediately
If you believe malware was downloaded as part of the phishing attack, disconnect from the internet immediately. Turn off Wi-Fi, disconnect Ethernet cables, and on mobile devices, enable airplane mode. This prevents malware from communicating with its command-and-control server and stops data from being exfiltrated before you can assess the damage.
Step 2: Change Your Passwords From a Different Device
Knowing what to do after phishing attack means changing compromised credentials as fast as possible. If you entered passwords on a phishing site, assume they are stolen. Change the affected account’s password from a different, uncompromised device. Prioritize: email accounts first, then banking and financial services, then social media. If you reused the same password elsewhere, change those accounts too.
Step 3: Enable Two-Factor Authentication
After a phishing attack, enabling two-factor authentication (2FA) on all important accounts is essential. Even if an attacker has your password, 2FA prevents login without access to your phone or authenticator app. Use an authenticator app like Google Authenticator or Authy rather than SMS-based 2FA when possible, since SIM swapping attacks can intercept SMS codes.
Step 4: Scan for Malware
Running a malware scan is a non-negotiable part of what to do after phishing attack. Reconnect briefly, then run a full scan immediately. On Windows, use Windows Defender plus Malwarebytes Free for a second opinion. On Mac, use Malwarebytes for Mac. On Android, use Malwarebytes Mobile. If threats are found, follow removal instructions and scan again to confirm. For severe infections, a factory reset may be necessary.
Step 5: Check Your Financial Accounts
If any financial information may have been exposed, contact your bank immediately. Request a card freeze or replacement. Review recent transactions for unauthorized charges. In the United States, place a fraud alert or credit freeze with Equifax, Experian, and TransUnion to prevent new accounts from being opened in your name.
Step 6: Check for Unauthorized Access
Review the login history for all important accounts. Most services, Google, Microsoft, Facebook, banks, show recent login activity including IP addresses, devices, and locations. If you see logins you do not recognize, the account has been accessed. Revoke all active sessions, change the password, and enable 2FA.
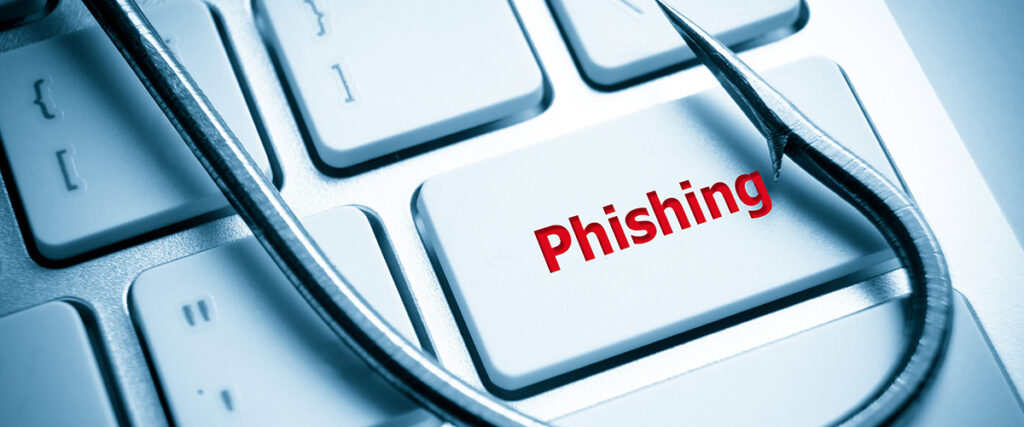
Step 7: Report the Phishing Attack
Reporting the incident is an important step in what to do after phishing attack. Forward phishing emails to [email protected]. If it impersonated a company, report it to that company’s security team. In the United States, report to the FTC at reportfraud.ftc.gov and to the FBI’s IC3 at ic3.gov.
Step 8: Notify Affected Parties
If the phishing attack may have compromised your work email or company accounts, notify your IT security team immediately. Early notification limits the potential for lateral movement within an organization. If personal contacts may have received phishing messages from your compromised account, notify them too so they do not fall victim to the same attack.
How to Prevent Future Phishing Attacks
Long-term prevention is also part of what to do after phishing attack. Going forward: always verify URLs before entering credentials, never click links in emails, navigate directly to the site instead, use a password manager that autofills credentials only on legitimate domains, and enable phishing protection in your browser. Chrome, Edge, and Firefox all include built-in phishing site detection.
Post-Phishing Response Checklist
| Step | Action | Time Required | Priority |
|---|---|---|---|
| 1 | Disconnect from internet | Immediate | Critical |
| 2 | Change passwords from a clean device | 10–20 minutes | Critical |
| 3 | Enable 2FA on all important accounts | 15–30 minutes | Critical |
| 4 | Run malware scan | 30–60 minutes | High |
| 5 | Review financial accounts for fraud | 10 minutes | High |
| 6 | Check login history across services | 10 minutes | High |
| 7 | Report attack to FTC / IC3 | 5–10 minutes | Medium |
| 8 | Notify affected parties (IT team, contacts) | Varies | Medium |
Conclusion
Knowing what to do after phishing attack is the difference between a contained incident and a prolonged data breach. The eight steps in this guide, executed in the right order within the first 30 minutes, dramatically limit what an attacker can do with stolen credentials or access. The most important lesson after a phishing attack is not just recovery, it is prevention: use a password manager, enable 2FA on every critical account, and treat every unsolicited email link as a potential threat until proven otherwise. Phishing works because it creates urgency; slowing down before clicking is your most effective defense.